
The ultimate guide to cleaning out your fridge
There’s nothing like opening the door of a squeaky-clean fridge, free from funky odors and splatters, full of fresh and neatly labeled foods. If this sounds like an impossible dream, fear not—it’s actually very achievable. Here’s how to get your fridge looking brand new, and ensure it stays that way.

Table of contents
Fridge cleaning: How often is enough?How to deep-clean your fridgeFridge maintenance: How to keep your fridge sparkling In between deep cleansFridge cleaning: How often is enough?
How often you’ll need to deep-clean your fridge depends on whether you’re staying on top of messes as they happen. Some people recommend cleaning the fridge as often as once a month, but if you can do a quick weekly mini clean-out, you might be able to stretch it to every three or four months. No matter what, do it during your annual deep clean.
How to deep-clean your fridge
Cleaning out the refrigerator doesn’t have to be difficult. Here’s a step by step guide to getting it done in under two hours.
What you’ll need
Baking soda
Vinegar
Spray bottle
Sponge
Old toothbrush (optional)
Rags
Masking tape
Marker
Reusable food containers
10 Steps to clean your fridge
Step 1: Get everyone on board.
Fridge clean-outs almost always involve tossing some food, so avoid throwing away your family or roommate’s favorites by getting them involved. Best case scenario, they’ll offer to help you clean it, too!
Step 2: Gather supplies.
The two toughest cleaning challenges in the fridge are odors and stains. To tackle them, you’ll need two powerful cleaning solutions, made with baking soda (deodorizer and mild abrasive) and vinegar (deodorizer; good for stainless steel).
For the interior, combine ½ cup water and 3 tablespoons baking soda in a bowl or spray bottle.
For the exterior, make a simple all-purpose cleaner with one part vinegar to three parts warm water.
Other handy supplies include sponges, scrubbers, an old toothbrush, and rags. Since the fridge is where food lives, you’ll also be taking this opportunity to toss, label, and consolidate food items, so grab a roll of masking tape, a permanent marker, and jars or other food-safe reusable containers in a range of sizes.
Step 3: Empty the fridge.
Before you can clean the interior of your fridge, you’ll have to take everything that’s inside of it, out. Clear the countertops or a table, and set everything on trays for easy moving (and to avoid making a mess). If you have a cooler or insulating bags, you can transfer food that’s ready to go back into the fridge into the cooler while you finish cleaning.
Set a timer for two hours—that’s about the maximum amount of time that perishables should be left at room temperature. (Also, who wants to be stuck cleaning out the refrigerator for more than two hours?) This is also a good time to wipe down any sticky condiment jars with a warm, damp rag.
Step 4: Toss, consolidate, and label.
Make room in your fridge by throwing away any food that has gone bad. How can you tell? The “best by,” “sell by,” and expiration dates printed on food might seem like the best place to start, but those dates aren’t actually required by the FDA. Food can go bad before the date on the package, and is often still good to eat well after the date has passed. So the best way to tell if food is safe to eat is to use your eyes and nose. Throw away any food that is moldy, slimy, or has a bad smell.
Transfer everything you’re keeping into an appropriate-size container to maximize fridge space, and slap a label (with contents and date) onto leftovers and other perishable foods.
Step 5: Remove drawers and shelves.
Take out every removable part from your fridge, including removable shelves and drawers. This will allow you to clean the fridge interior. If you have glass shelves, allow them to come up to room temperature, to prevent any cracking that could result from extreme temperature change.
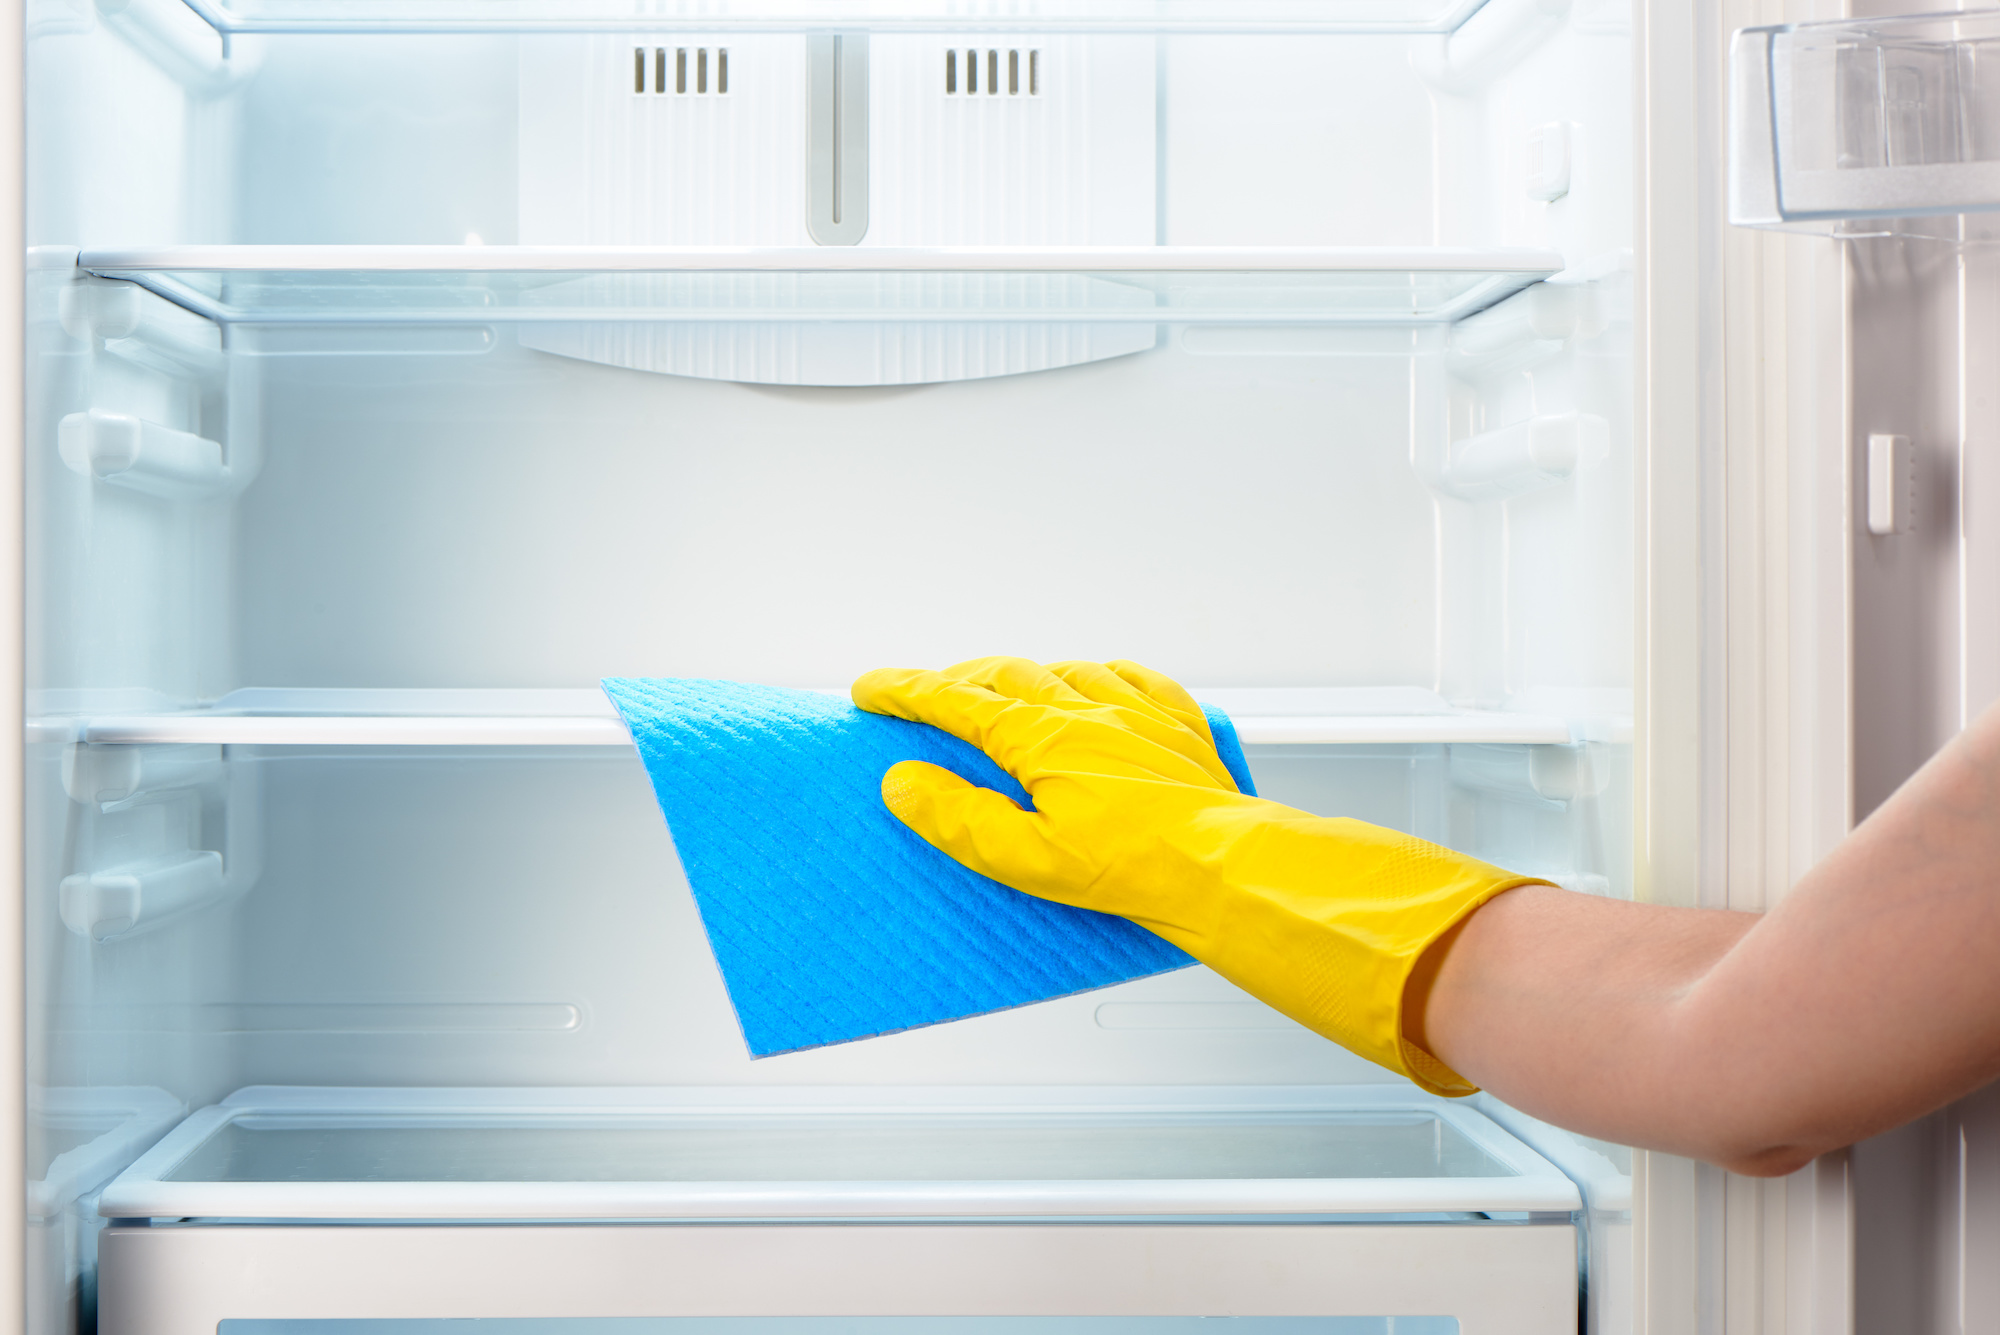
Step 6: Clean the fridge interior.
Clean the interior of your fridge with the baking soda solution, using a sponge or rag, and a toothbrush for hard-to-reach places. For stubborn spots, make a paste with baking soda and hot water, and leave on until the gunk loosens. Wipe off any baking soda with a damp rag, then run a dry cloth over the interior.
Step 7: Wash drawers and shelves.
Now that the interior of the fridge is clean, you have a place to put clean, dry drawers and shelves after you wash them. Wash these parts with hot water and dish soap. Since these pieces are often larger than a standard sink, you might want to wash them in a (clean) bathtub full of soapy water or outside, with a hose. If you have glass shelving, remove the glass from its plastic supports for easier cleaning. Once your shelving is clean and dry, return it to the fridge.
Step 8: Return the food.
Now that you’ve cleaned the inside of the fridge and gone through all your food, it’s time to put it away. This is a great time to reorganize your fridge.
Keep highly perishable items such as eggs, milk, and butter in the back of the fridge, which tends to be coldest.
Vegetables belong in the high-humidity drawer, which will keep them from drying out.
Meat and fish should go on the lowest shelf, or in their own drawer, to prevent cross-contamination.
Condiments can go in the fridge door, which is the warmest part of the fridge.
If you do reorganize, don’t forget to let the other people in your house know about the new protocol.
Step 9: Clean the outside.
The outside of a fridge can get grimy, too. Spray the doors, paying special attention to the handles and rubber gaskets, and then dry with a clean towel or, for stainless steel, a microfiber cloth. If your gaskets are full of crumbs, you can use a vacuum cleaner to suck them up. An old toothbrush can be useful here, as well.
Step 10: Check the drip pan.
An oft-forgotten part of the refrigerator, the drip pan collects fridge condensation, and while it doesn’t require regular cleaning, it’s a good idea to empty it out and clean it every once in a while. On most fridges, the drip pan is located at the very bottom of the fridge, behind a kick panel. Pry off the kick panel, then pour any water out of the drip pan and give it a quick wipe-down before putting it back.
Fridge maintenance: How to keep your fridge sparkling In between deep cleans
Now that your fridge is sparkling clean, here are four tips for keeping it that way.
Deodorize. An open box of baking soda is such a classic fridge deodorizer that you can now buy boxes with cut-outs to increase surface area. Activated charcoal or a bowl of fresh coffee grounds will provide the same function. Just be sure to replace your deodorizer whenever it starts to smell stale, or every three months.
Practice FIFO. FIFO is a restaurant-world acronym for First In, First Out, which just means keeping older foods towards the front of the fridge for easy access. The first step in FIFO is to label everything that goes into the fridge with its contents and the date, so keep masking tape and a permanent marker close to the fridge.
Wipe up spills as they happen. This might seem obvious, but cleaning fridge spills the moment they happen is a lot easier than trying to remove tough stains during your next deep clean. It’s also recommended by the USDA for food safety reasons.
Schedule your next cleaning. Just like scheduling your next teeth cleaning as you walk out of the dentist’s office, the best way to stay on top of fridge cleaning is to add the next one to your calendar the moment you finish the task.
Looking for a home where monthly cleaning is always on the books? Bungalow offers private rooms in shared homes that are more affordable than solo housing options in the same neighborhoods. Wifi, utilities, and monthly cleaning are set up before you move in so that communal living is seamless. Find a Bungalow near you.
Ready to find your next home?
Move-in ready homes and a built-in community so you can feel at home, together — wherever you are.
Suggested articles


